
Explore other categories
- Applications (1)
- ATM (28)
- Cloud (3)
- Cloud services (1)
- MicroStack (2)
- H.323 (2)
- Instant messaging (4)
- IP QoS (1)
- References (1)
- Tools (1)
- IP Telephony (6)
- VoIP (3)
- IPTV (2)
- IPv6 (6)
- Tools (2)
- Linux – HOWTO (71)
- Monitoring, Management, Measurement (11)
- NetAcad (21)
- Network security (22)
- Network simulation and modelling (1)
- GNS3 (1)
- Practical – Cisco (2)
- Security (1)
- Practical – Fortinet (2)
- Fortigate (2)
- Practical – Mikrotik (2)
- SIP (52)
- Application servers (1)
- Asterisk (3)
- FreeSWITCH (2)
- Kamailio (29)
- NAT, FW (5)
- OpenSER (2)
- TCP/IP networks (2)
- Tools (2)
- Theses (2)
- Traffic generators (1)
- Virtualization (13)
- VirtualBox (12)
- XenServer (1)
- WebCMS (1)
- Drupal (1)
- IPv6-IPv4 (1)
- Switching (2)
- OSPF (1)
- Windows 2019 server (1)
Current category:
Linux – HOWTO

The page provides a summarized and updated overview of simulation and virtualization tools suitable for the practice of networking educators, trainers or researchers. A B C D E F G H I J K L M N O P Q…
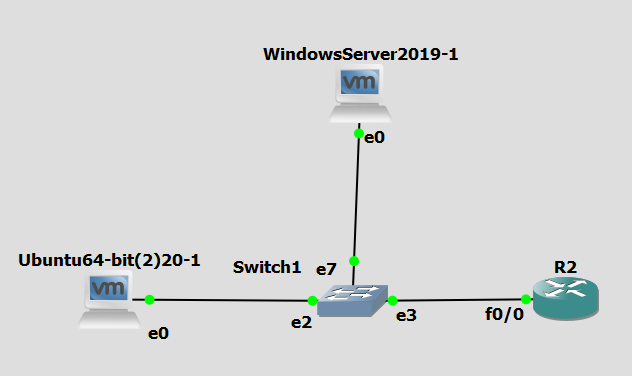
This guide will walk you through the setup of a Linux based TACACS+ Authentication Server, using Ubuntu 20.04 that authenticates against a Windows Active Directory LDAP. This guide assumes that you are familiar with installing and configuring Ubuntu Server and…
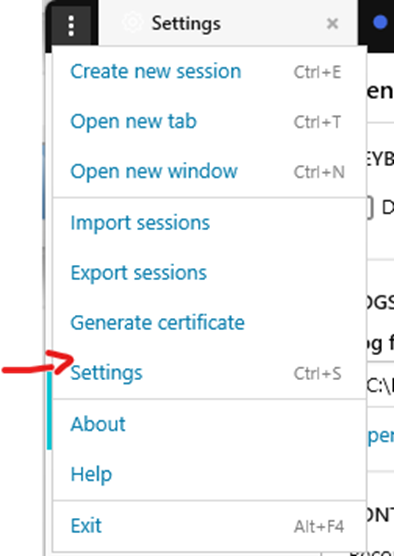
To change the Solar-Putty font size follow these steps: Open the Solar-Putty SSH client (for example by opening the console of a GNS3 device) Click on three dots in the upper left corner Select Settings, Go to the bottom menu…
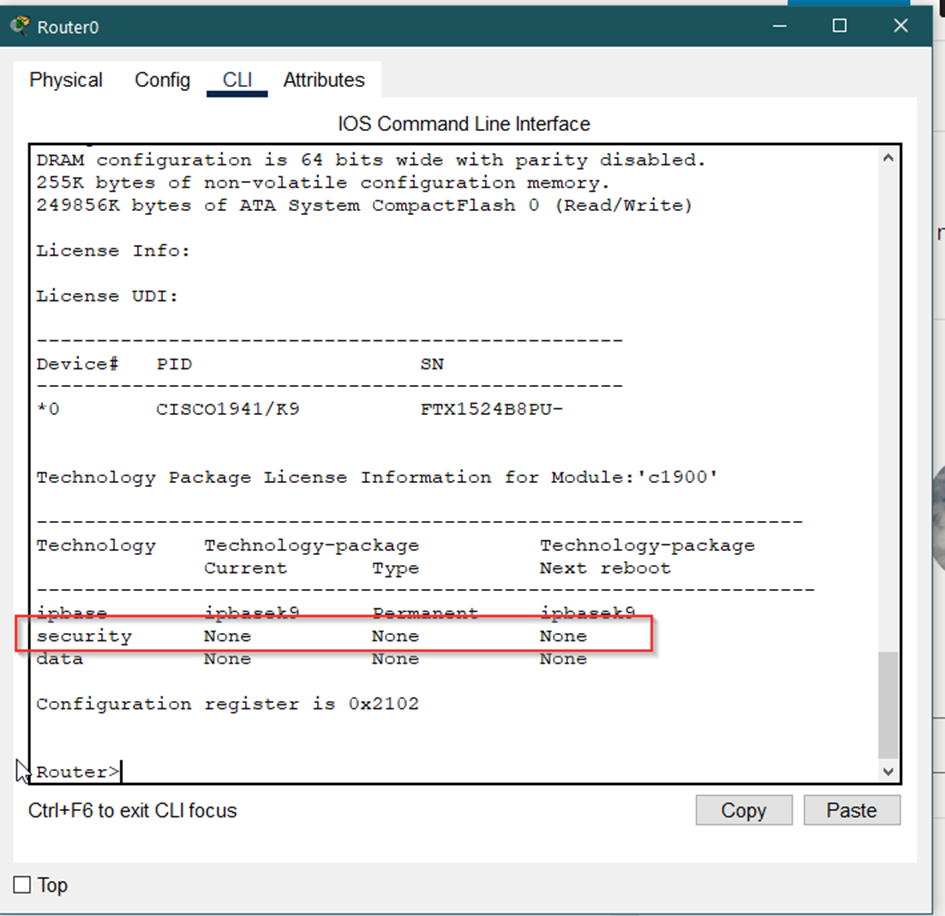
Cisco Packet Tracer (PT) simulator allows performing site-to-site VPN exercises. However, the security feature of the router’s IOSs is disabled by default and has to be enabled. Then required VPN commands (crypto and etc.) will be available. The activation is…
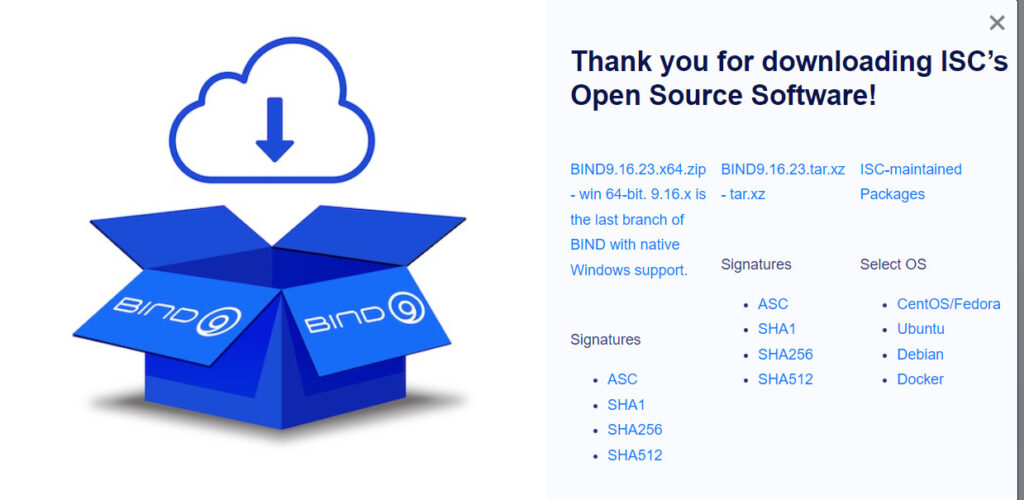
This guide explains how to install the dig dns tool on windows 11 in a few steps. It is just a little bit modified version of How to install DIG dns tool on windows 10 howtos. 1. First download the latest…
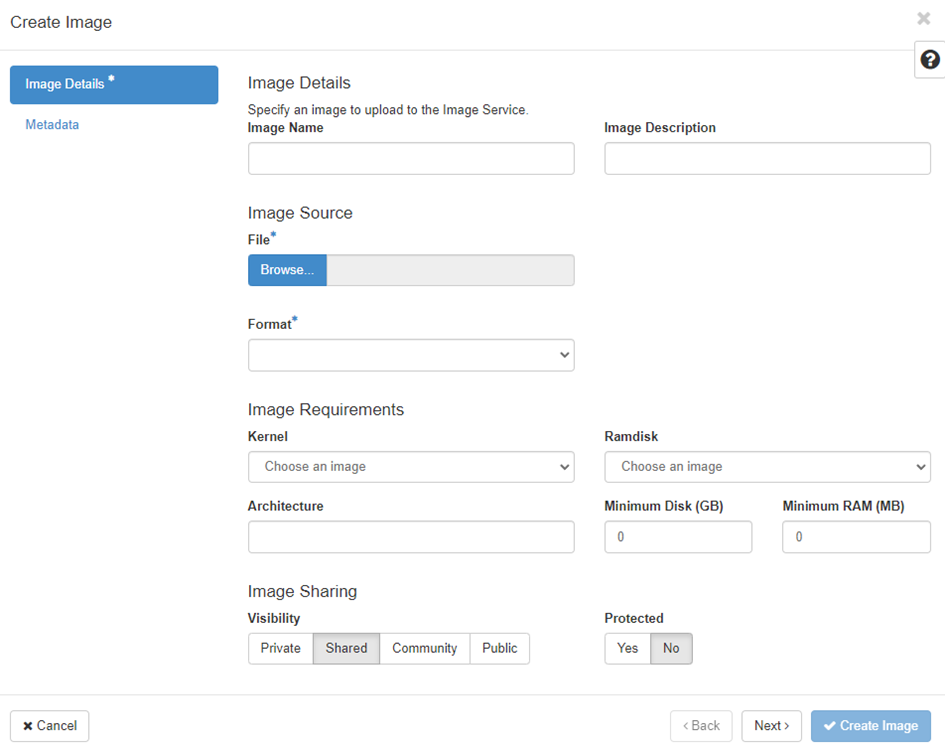
Hardware requirements The OpenStack cloud enviroment will run at top of the operating system CentOS 7.9. Also it is necessary to provide at least 16GB of RAM. Installation for single-node deployment echo „158.193.153.10 hostname.example.com“ >> /etc/hosts systemctl stop firewalld NetworkManager…

Installed free Oracle VM VirtualBox application, version 6.1.28rInstalled guest virtual machine with Parrot OS. sudo su – # update packages list and upgrade packages apt update && apt upgrade -y # install virtualbox guest additions from the Parrot repo apt install virtualbox-guest-utils…
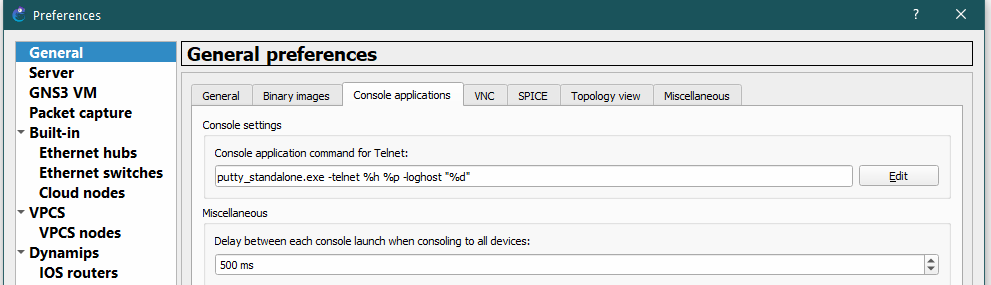
Starting the GNS3 version 2.1.10, Solar-Putty is packaged as the default SSH client. However, how to integrate it to GNS3 later? As it was not selected during the GNS3 installation? Follow: 1. Download the Solar Putty application from https://www.solarwinds.com/free-tools/solar-putty. Puty…
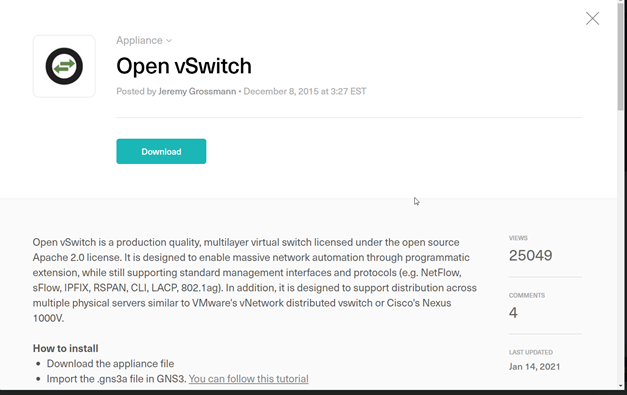
Open vSwitch (OVS) is a multilayer (MLS) virtual switch licensed under the open-source Apache 2.0 license which is widely used in the field of virtual networking. With this open-source MLS switch, we can easily extend GNS3 switching capabilities. We can…

Author: Tomas Misutka This article provides a how-to guide on how to add/join a Linux-based system (server, workstation) to a Windows domain working with Active Directory. This tutorial was tested on machines: DEBIAN -> version:8.11.1 SSSD version:1.11.7-3+deb8u2 UBUNTU-SERVER -> version:20.04…