
Starting the GNS3 version 2.1.10, Solar-Putty is packaged as the default SSH client. However, how to integrate it to GNS3 later? As it was not selected during the GNS3 installation? Follow:
1. Download the Solar Putty application from https://www.solarwinds.com/free-tools/solar-putty. Puty is zipped, therefore after the download has completed, unzip the Solar-PuTTY.exe application file to your preferred application folder. I used the C:\Program Files (x86)\Solar-Putty\ for that.
2. Open your GNS3 application
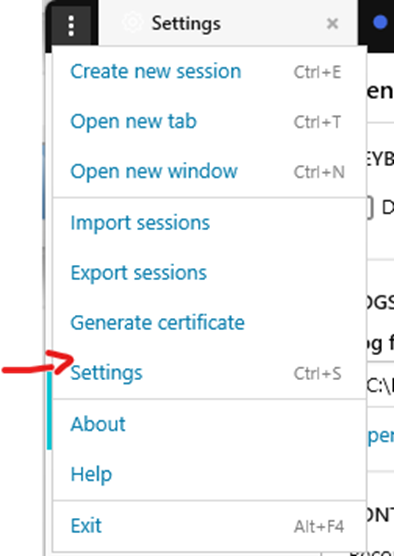
3. Go to the Edit => Preferences => General tab
4. and there is a tab „Console applications„
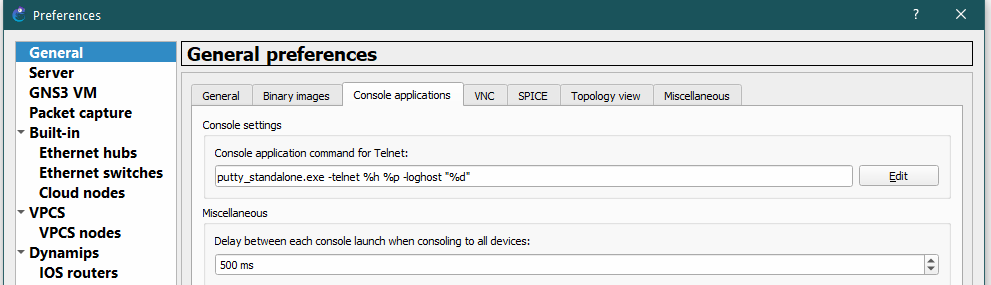
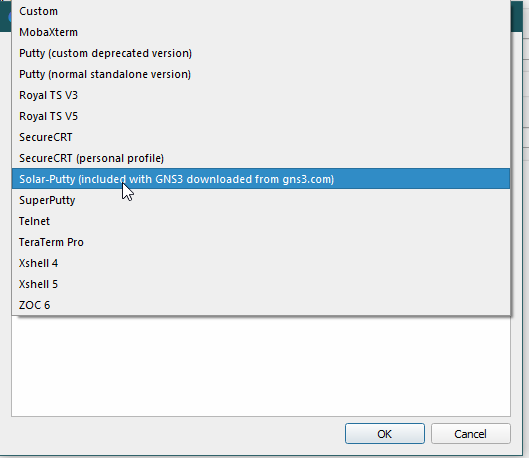
5. Click on Edit and then select:
a) the Solar-Putty predefined command is there in an offer. It means, that it was installed but has not been set up as the preferred client
b) or if there is not in the list, select Custom from the list
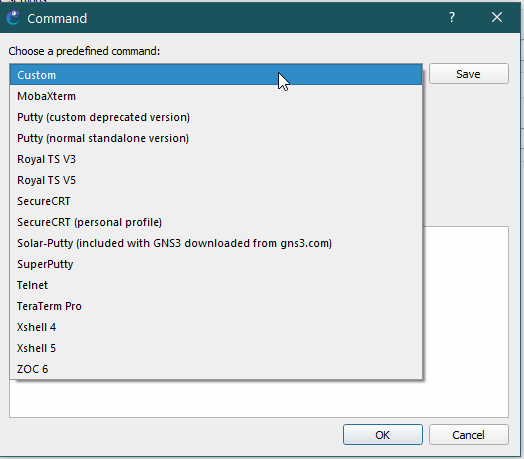
6. and Click Save. GNS3 will ask you to name the command to identify it among others. I’ll put something as Solar-Putty-Test nad click Ok

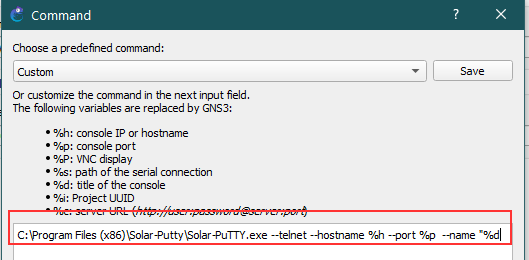
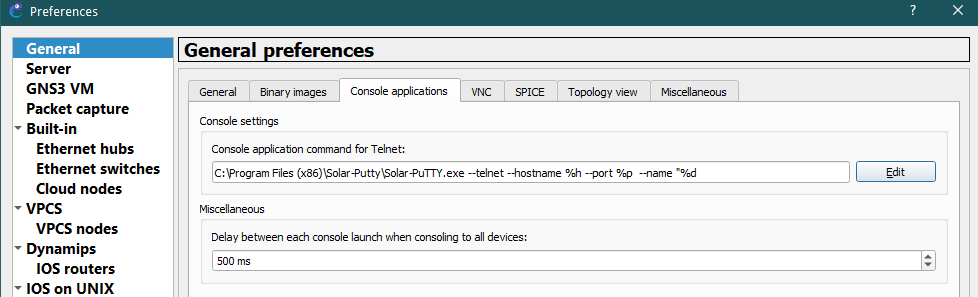
7. then we need to modify the console command to add the full path to your solar-putty.exe and command options. The command which I used is:
C:\Program Files (x86)\Solar-Putty\Solar-PuTTY.exe --telnet --hostname %h --port %p --name "%d
7. The screen will look like
8. and then click Ok. The General tab will look like
9. and again click on Apply and Ok. Done!
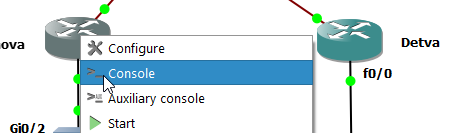
10. Now we will test it.. Right click on some of your running boxes and select Console
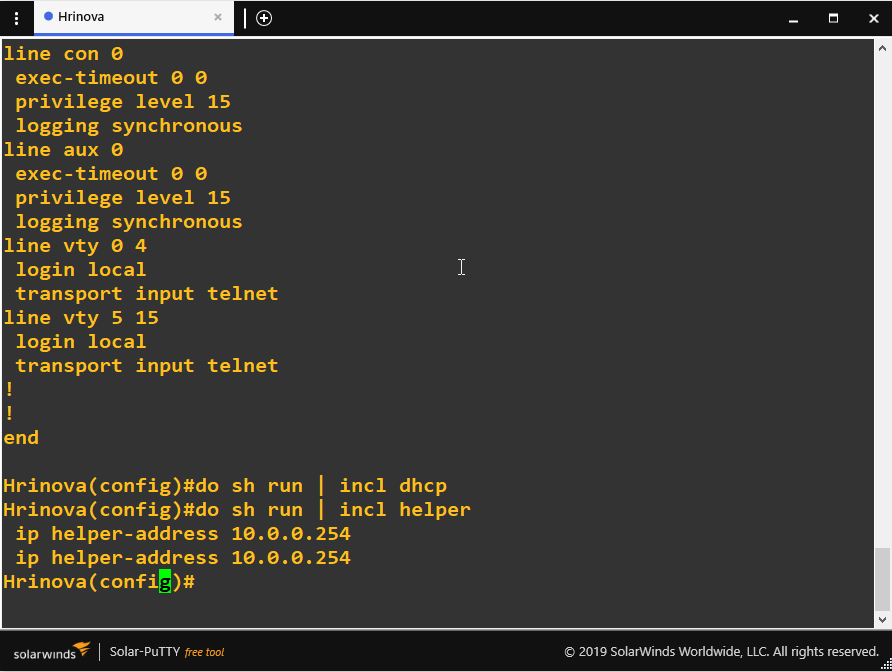
11. Solar-Putty should start


Thank you so much, this was very helpful.