Thanks to fast USB version 3 and low price of USB flash disks we are able to run and use a Linux OS from the USB flash very efficiently, all without a need to modify a HDD of main PC or notebook. Actually there are several tools which allows to make a bootable USB flash with our preferred version of linux on it. The best tolls are UNetbootin, Xboot or Universal-USB-Installer. All of them are able to create a single or multi OS boot Live USB flash disk. And this could be a problem. The Live OS means the any data, installation, changes to the main Live system are lost after a reboot. These tools therefore allows to make a presistance LIve USB installation, with a folder up to 4GB, where we are able to put files which will not be cleared after a reboot.
But taking all advantages of using of full OS installation we need to perform a full system instalation. There are several ways how to do it (for example using two usb keys). For me looks more safe using the virtualbox tool for it.
Environment and prerequisities
My environment consist of:
- Win 7 64 bit
- Virtualbox 4.3.26 with the VM virtualbox extension pack installed (it is required for the USB version 2 support)
- Downloaded a linux ISO image, in my case the Linux Mint 64 bit Cinamon 17.1
- an USB flash disk of 10GB size at least, in my case SanDisk 32GB USB3.0
- Internet access
Installation
Insert an USB flash disk into a PC slot, I had some problem with USBv3 ports, where my VM Live linux was not able to recognize the flash disk. Moving it from an USBv3 port to an USBv2 port solved it. Start virtulalbox, where we will create a live VM machine without a HDD but booted from the ISO linux file, which we will be used to install the main linux system into the USB flash.
Steps required to create the live machine:
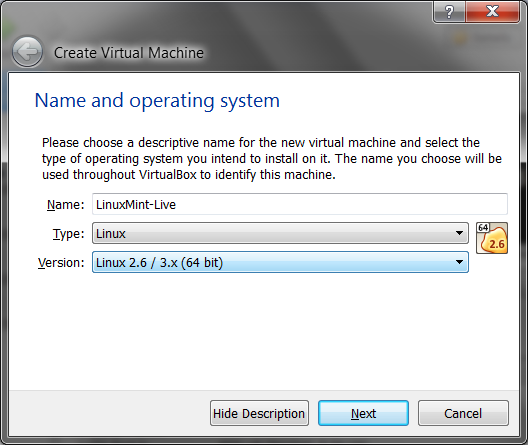
1) create a new linux 64 bit machine
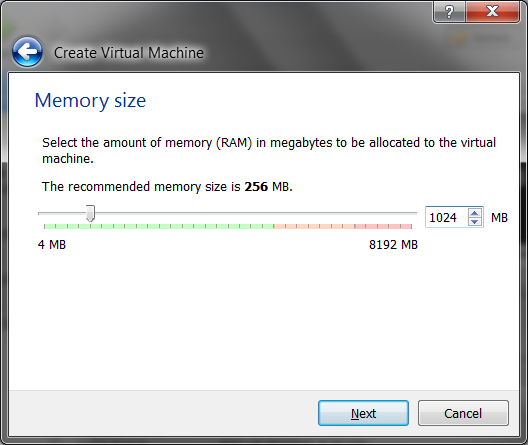
2) set the size of RAM memory, 1024MB in my case
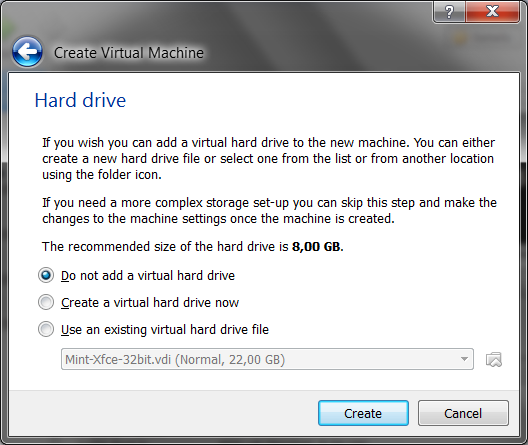
3) Do not create a HDD file
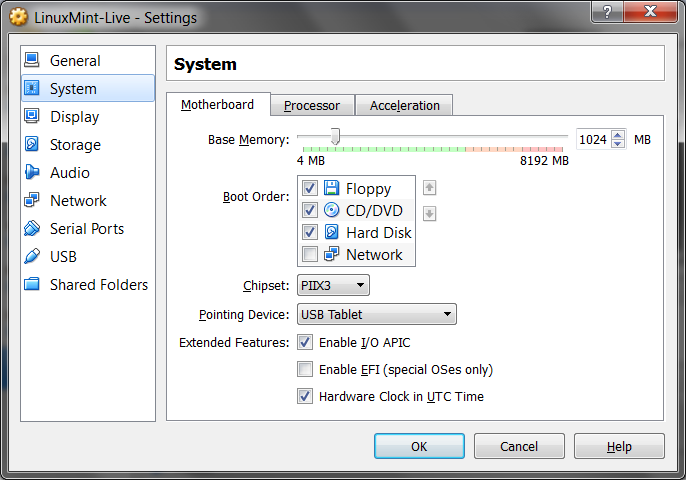
4) and once the machine was created click on the machine settings where we will set other parameters. First click on the system menu and check the booting settings, where the cd have to be before the Hard Disk
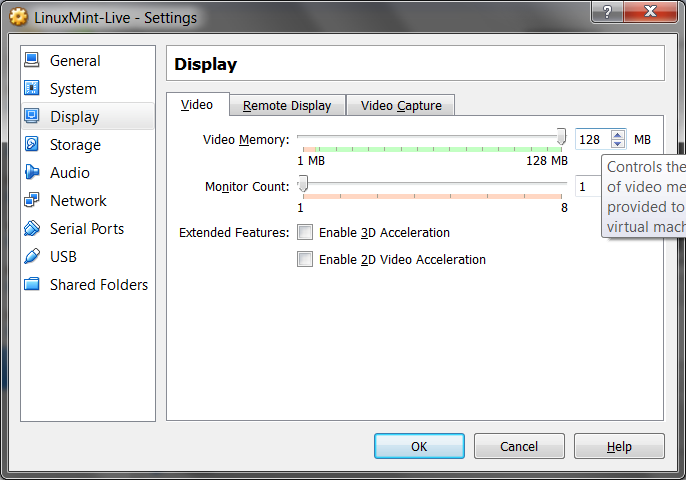
5) set display parameters
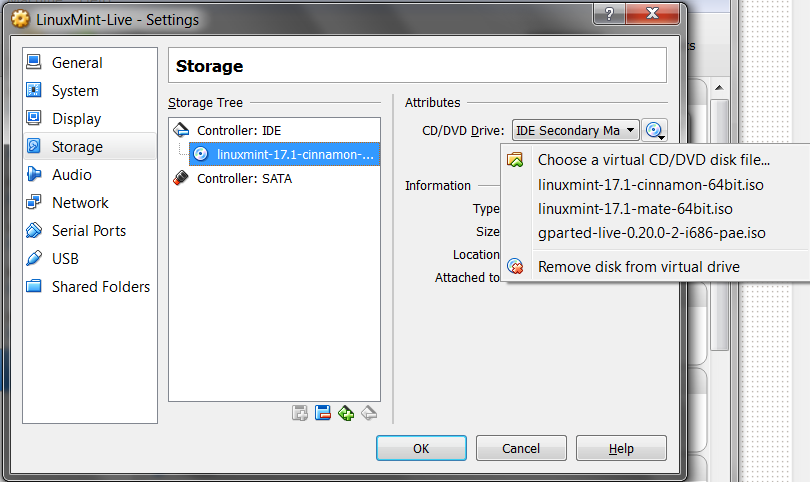
6) within the Storage item map the ISO linux image to the cdrom
7) set the network as bridged over a real net adapter, as the installation process will download some files

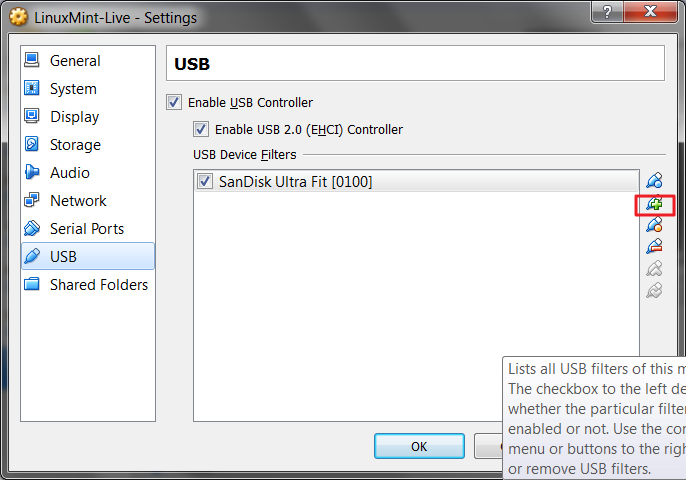
8) then finally map the USB flash disk
9) start the Live machine
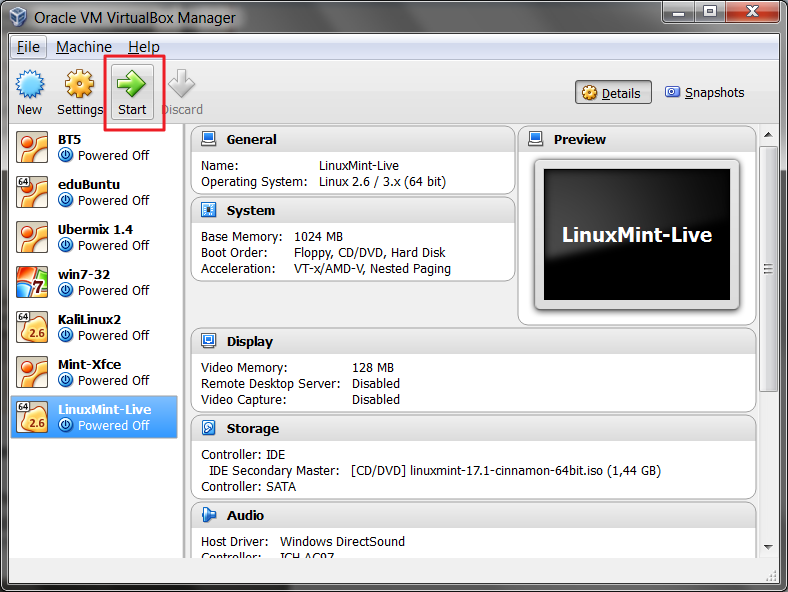
and wait till the system boot. Before we could continue, check if the USB flash disk have been mounted and is correctly recognized within the VM machine. It have to before we will proceed. We may check it within the Linux file manager (the usb drive is auto mounted) or using cli:
int@mint ~ $ sudo su -
mint ~ # blkid
/dev/loop0: TYPE="squashfs"
/dev/sr0: LABEL="Linux Mint 17.1 Cinnamon 64-bit" TYPE="iso9660"
/dev/sda1: LABEL="XBOOT" UUID="08D8-31E1" TYPE="vfat"
If the USB disk was not recognized, try to install the guest additions adding a secondary cdrom with the addition inserted in
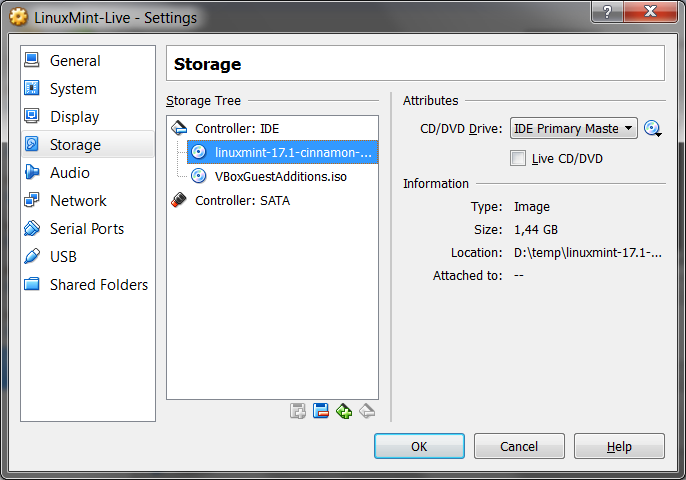
and then running ./VBoxLinuxAdditions.run.
Or try to simply change the USB port (work for me)
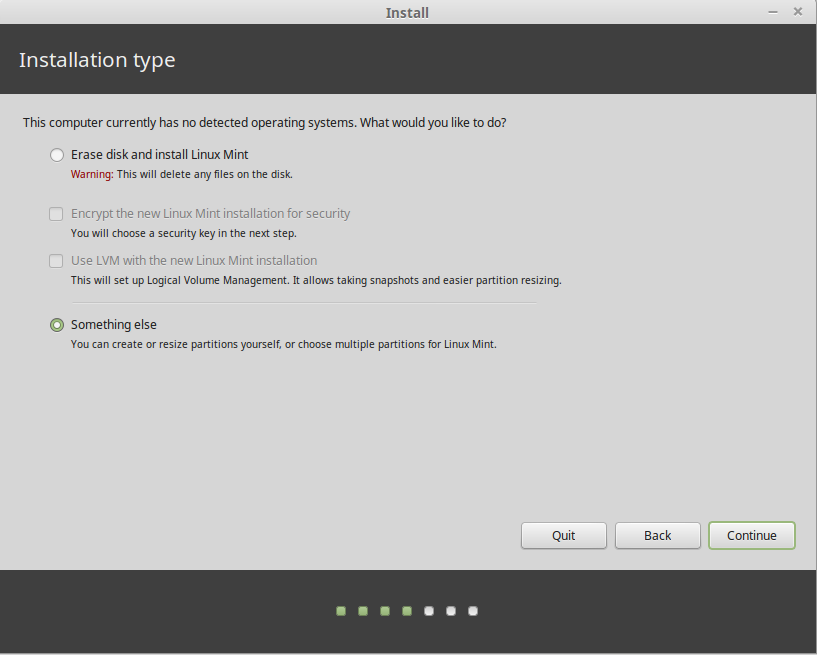
10) if we have the usb drive recognized we may stat main installation process clicking on the "Install Linux Mint" desktop icon. The installation window will open where we have to choose "Something else" to modify place where the installation will copy files.
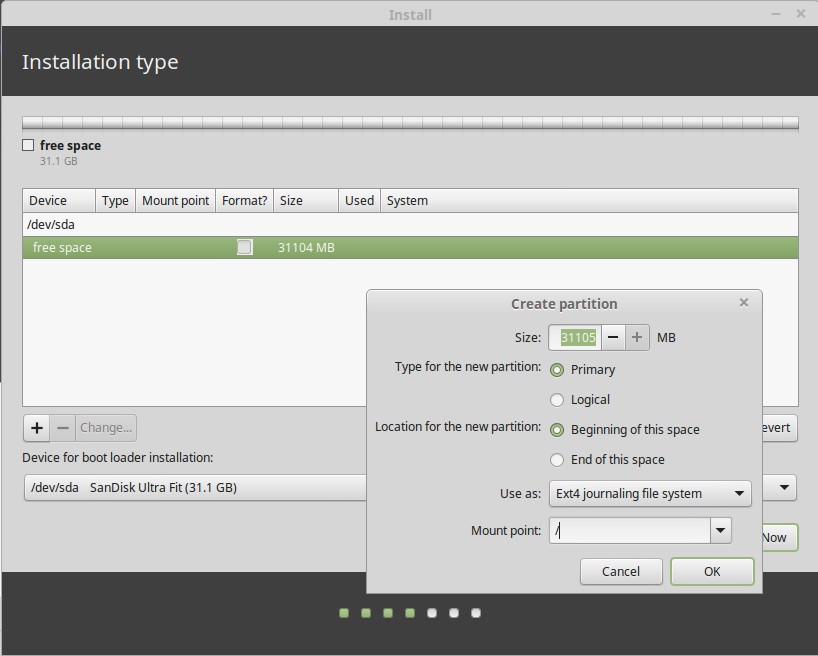
11) Here we should find our /dev/sda Flash disk, where we will make a root partition. Proceed with the installation we need at least a partition with a mount point root (//). My NB has 8GB of RAM, so i'm not creating a swap partition.

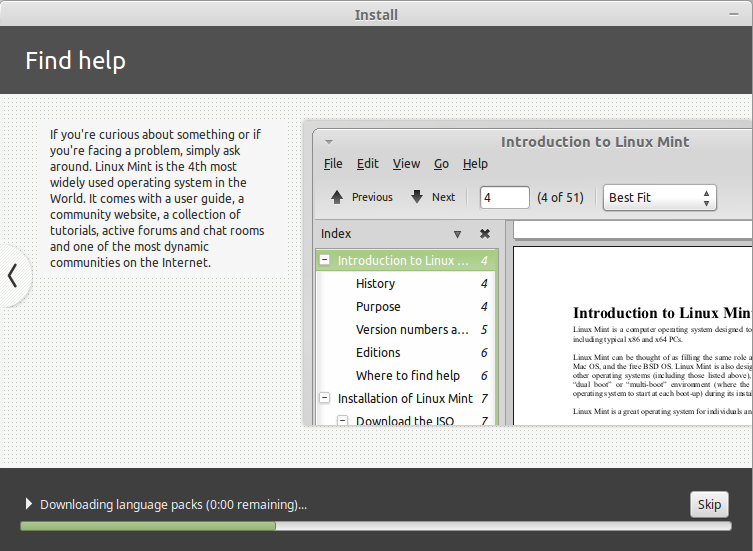
12) By selecting Continue we start the installation to our USB drive. Consider that this installation take a longer as usually do.
After the installation has finished we may shutdown the Live VM machine. Now we may put our USB flash disk back to any USB port (I prefer USBv3) and after booting up we may start to use the brand new operating system. Of coure do not forget to enable booting from USB in this computer's BIOS or modify the booting sequence.
Note: Some manuals talks about taking an extra care that the Grub boot loader indeed will have to be installed to the USB drive (/dev/sda) and not to anywhere else. Linux Mint did not ask me anything about the grub, and everything is working well.