This document describes step by step how to install Unified Network Lab (UNetLab ) and how to run Juniper vMX in the UNetLab.
Keywords: Unified Network Lab, UNetLab, Junos, Juniper, vMX.
Author: Daniel Zvolenský
1. Requirements
We need to install following softwares:
UNetLab: Download the latest version of UNetLab @ http://www.unetlab.com/download/index.html. It is an .ova file.
VM Ware Player: Download and install the VM Ware Player version 6 or later. The official source is available at https://my.vmware.com/web/vmware/downloads. I'm using VMware Workstation 12.0.1 Player for Windows 64-bit operating systems.
WinSCP: Download and install WinSCP @ https://winscp.net/eng/index.php
Junos vMX v14.1R1: Download Junos vMX.vdi version 14.1R1. The official source is listed below: https://www.juniper.net/support/downloads/?p=vmx#sw or there is a 60days testing vMX at http://www.juniper.net/us/en/dm/free-vmx-trial/
PuTTy: Download and install PuTTy @ http://www.putty.org/
Note:
-
Virtualbox does not work. - 2016-November-Virtualbox works too
-
2016-December: This guide works for Windows 10 64bit, Linux Mint 64 bit
- It also works, or allows to run (tested), Cisco 7200 15.4, Junos vMX 12.1, Junos vSRX 15.1
2. Install the UNetLab via VM Ware Player
2.1 Now we will import the unetlab .ova machine, so click on Player => File => Open => Unified Network Lab.ova
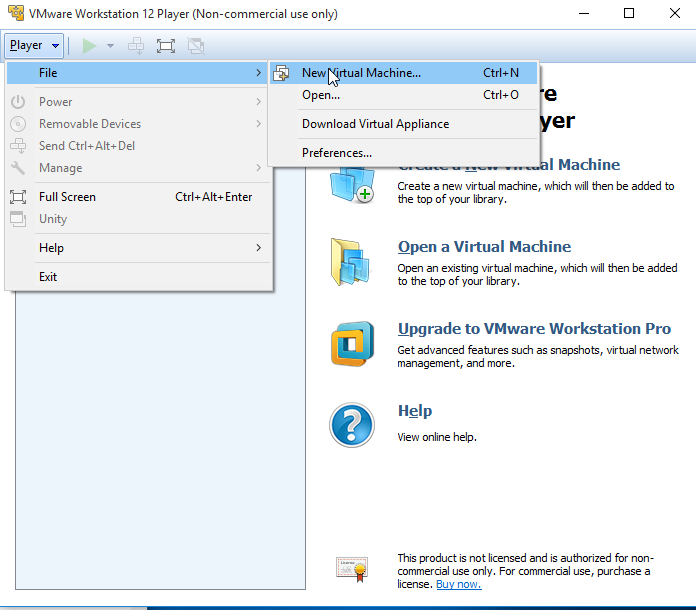
2.2 Name for the new virtual machine: UNetLab
Storage path for a new virtual machine: <PATH>
.png)
2.3 Hit Import and then Accept the license to complete the import of the UNetLab.
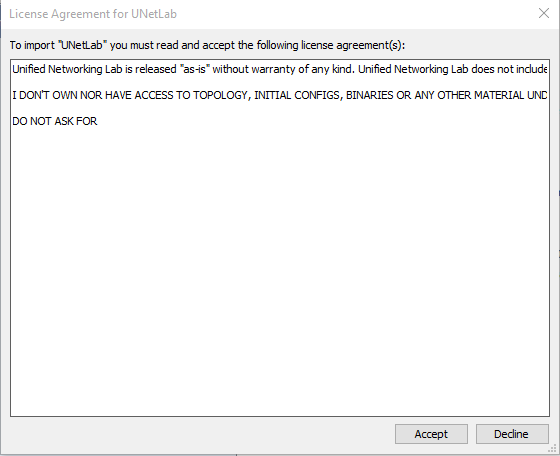
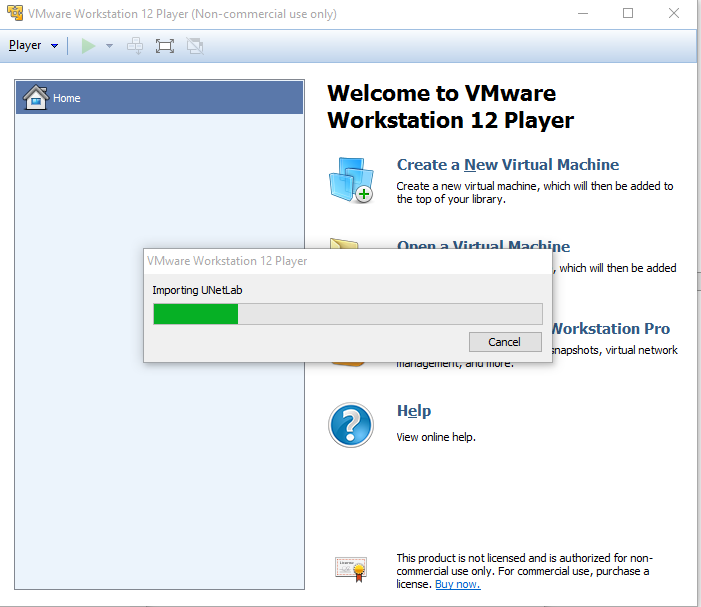
importing will start
after sucesfull import we may see
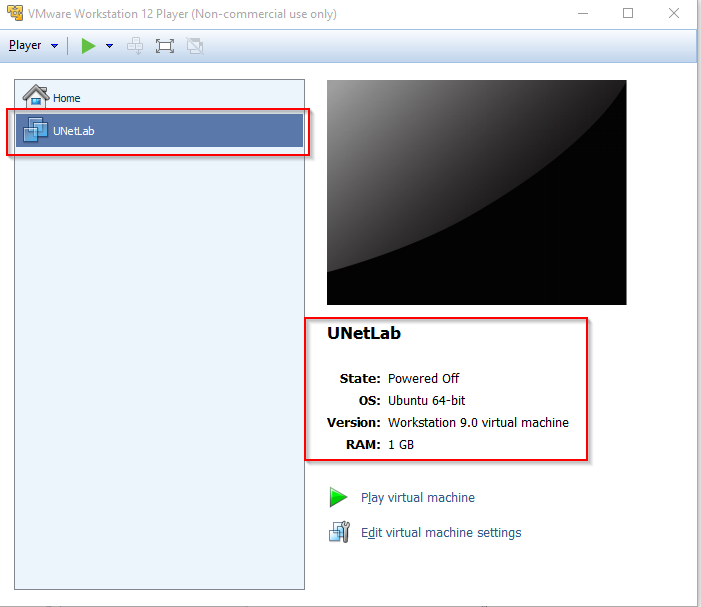
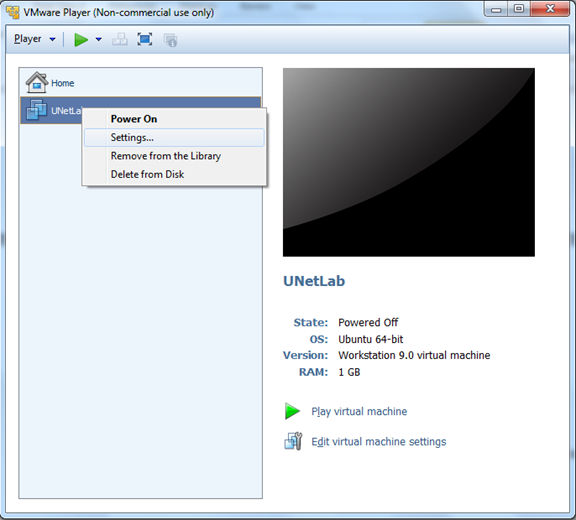
2.4 Right click => Settings
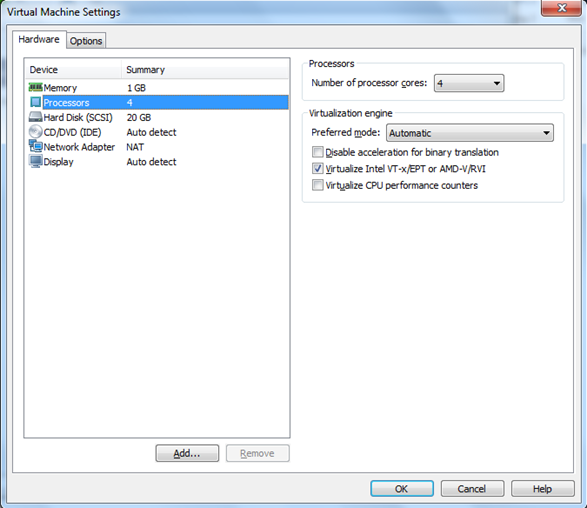
2.5 Adjust processors, memory, network adapters and number of disks. By default the UNetLab is configured with 1 vCPU, 1GB of RAM and 1 NIC. Finally enable under Processors the Virtualize Intel VT-x/EPT or AMD-V/RVI feature.
2.6 Once you are completed with settings hit OK and then Play virtual machine
3. UNetLab boot configuration
Boot the machine, if the screen is black, just press Enter.
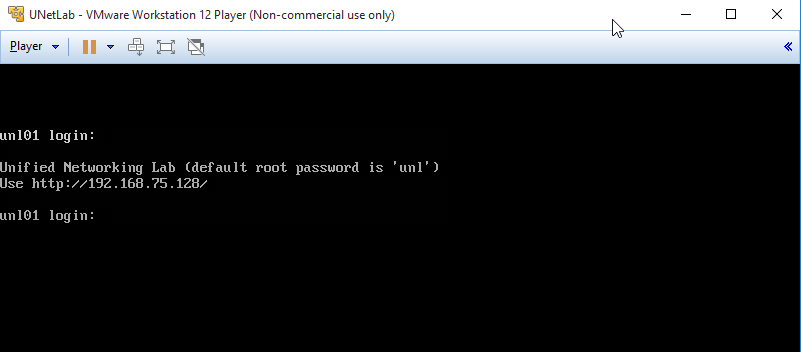
3.1 You will be prompted to login.
unl01 login: root
Password: unl
3.2 Set up a new root password (type it twice).
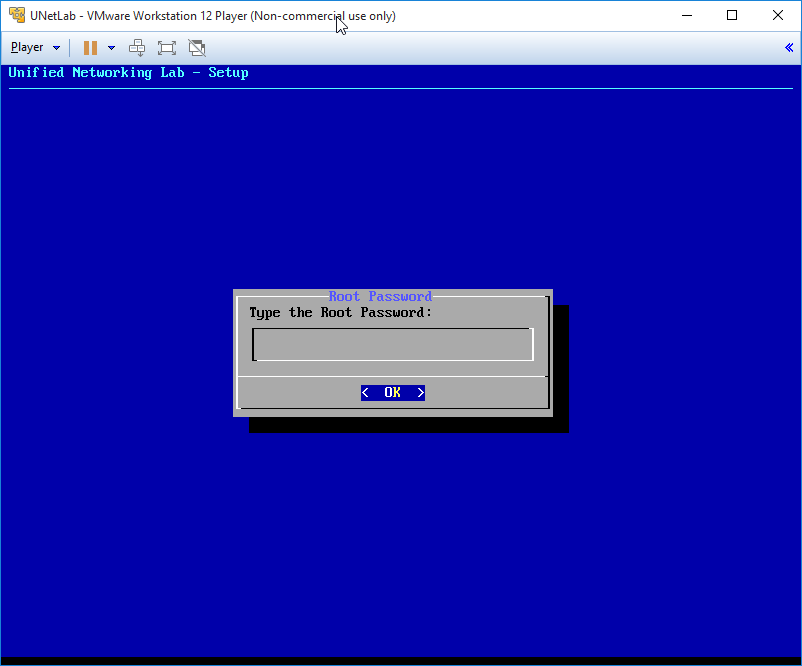
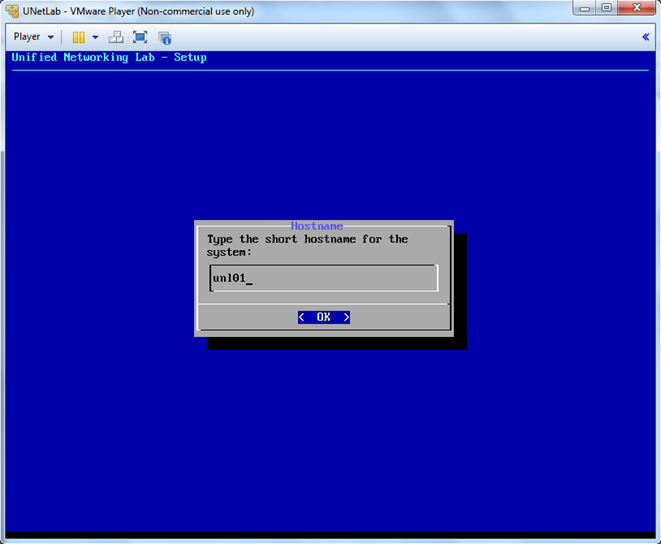
3.3 Type the hostname (default us unl01unl01).
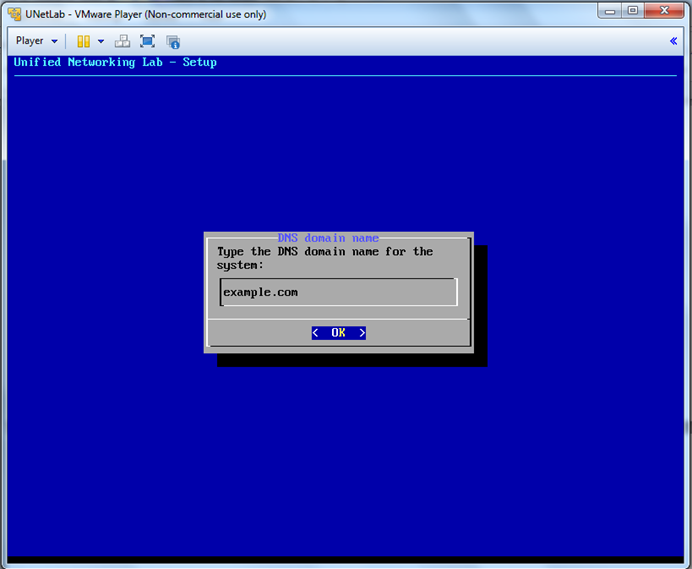
3.4 Type the DNS domain name for the system (use default example.comexample.com).
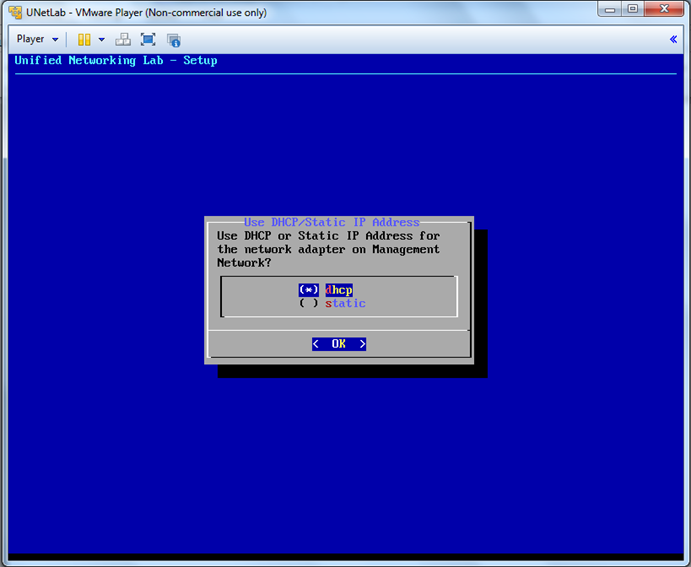
3.5 Use DHCP or Static IP Address for the network adapter on Management Network (use default dhcp).
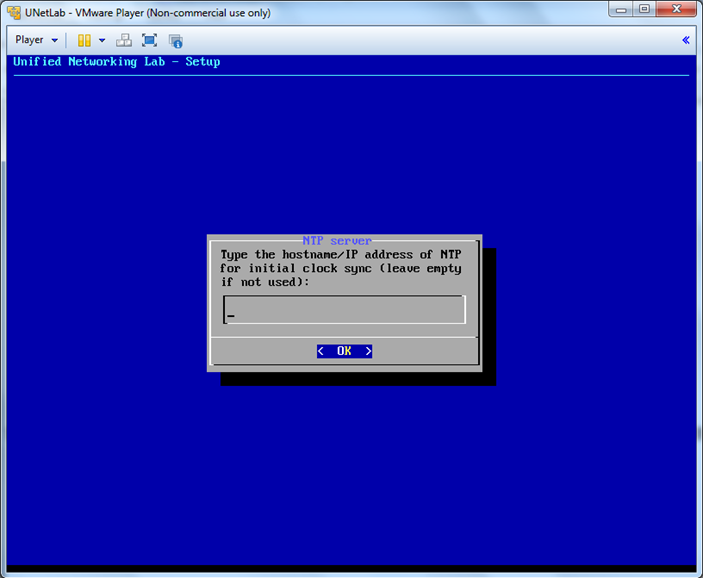
3.6 Type the hostname/IP address of NTP for initial clock sync (leave empty).
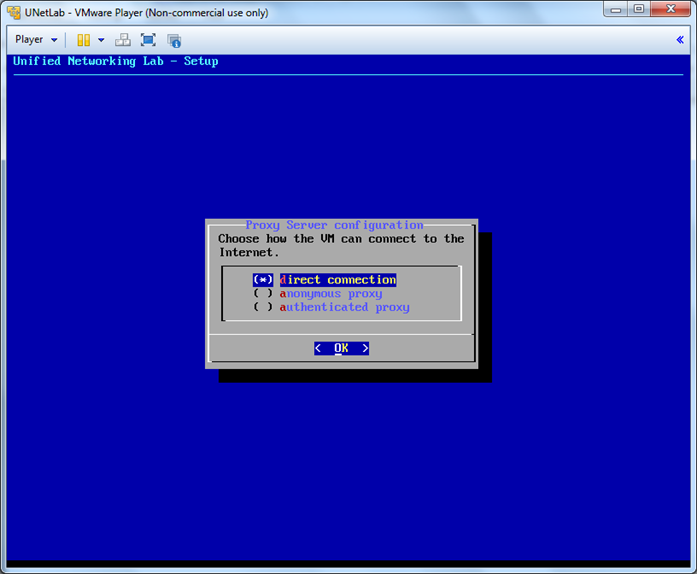
3.7 Choose how the VM can connect to the Internet (use default direct connection).
the machine will reboot now
4. Upgrade UNetLab installation
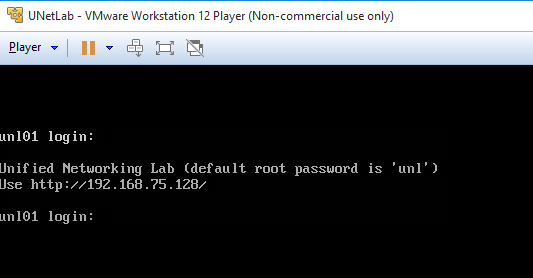
4.2 after sucesfull login we will update and upgrade system and UNetLab to the latest version, so type:
apt-get update
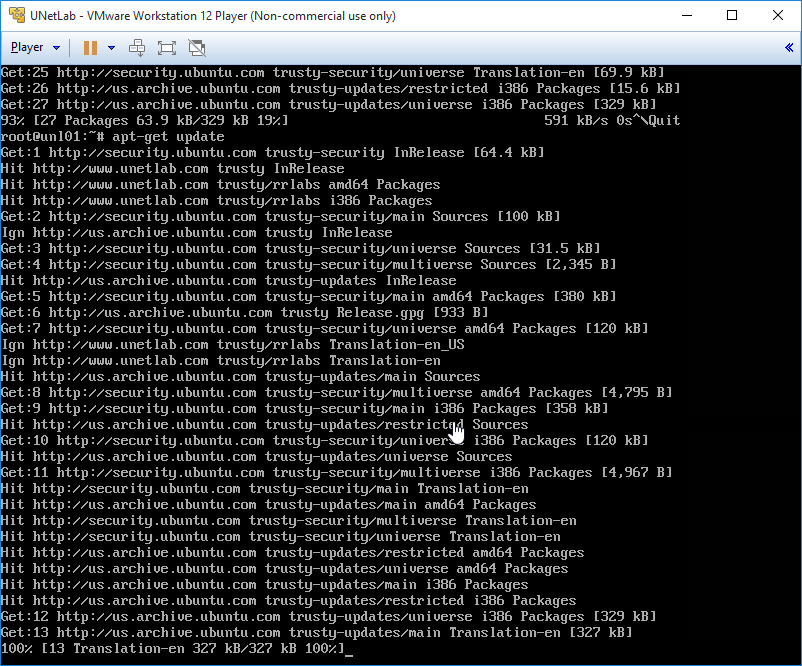
and then
apt-get –y upgrade
4.3 If asked for configuration file ‘/etc/issue’. Press Y Yand heit Enter to continue

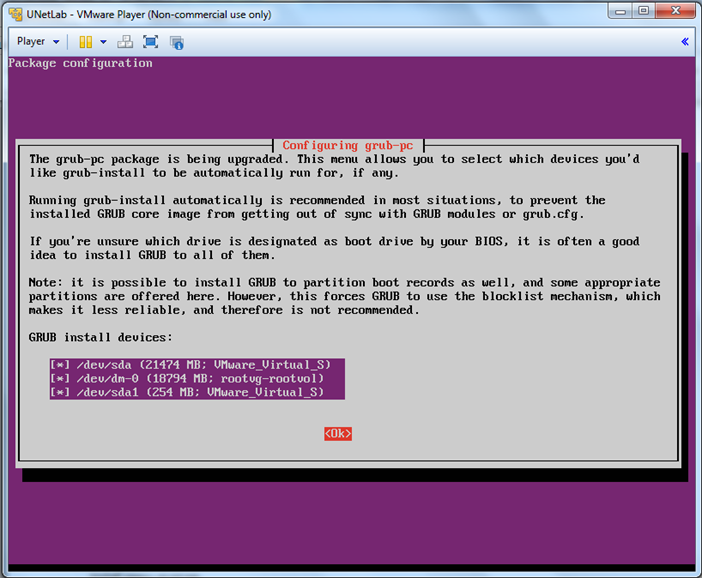
4.4 GRUB install devices. Use SpaceBar and arrow down to mark each package and press Tab and hit Ok to install all three packages.
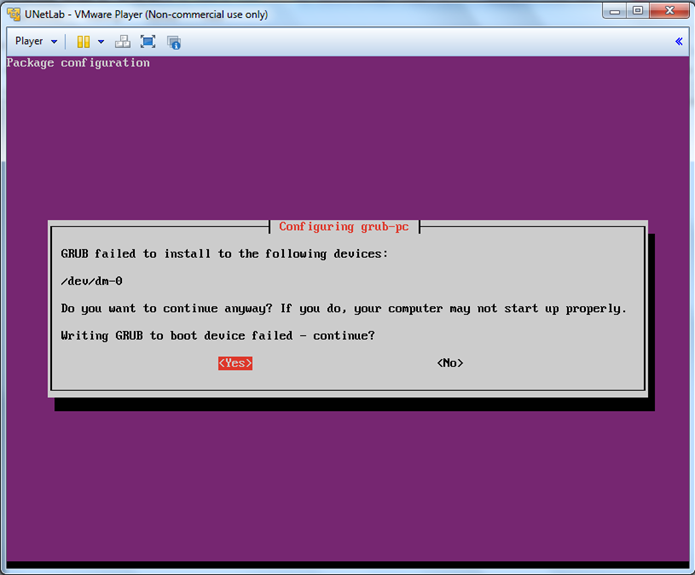
4.5 Writing GRUB to boot device failed – continue? Press YesYes.
once finished the prompt will apear, then…
apt-get install unetlab
apt-get install qemu-system

4.9 Type shutdown -r now , so the virtual machine will restart and after a restart you will be prompted to login again. This step is required for next part of guidance, where we want to know which local IP address is used by UNetLab (see 5.1).
5. Upload Juniper vMX 14.1.R1 to UNetLab

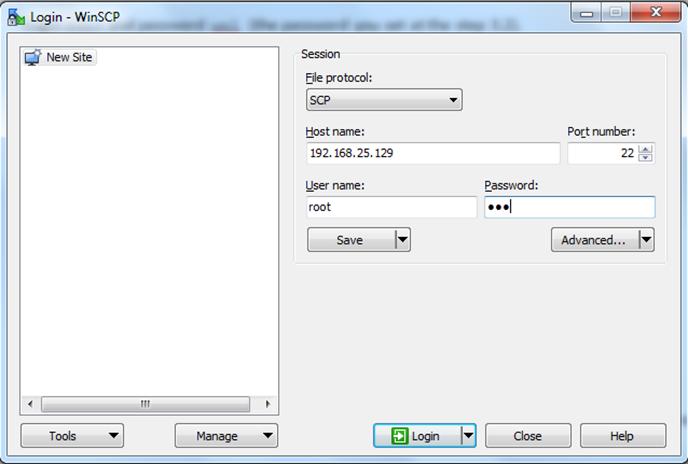
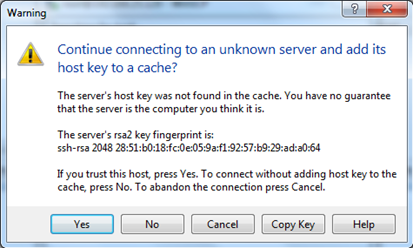

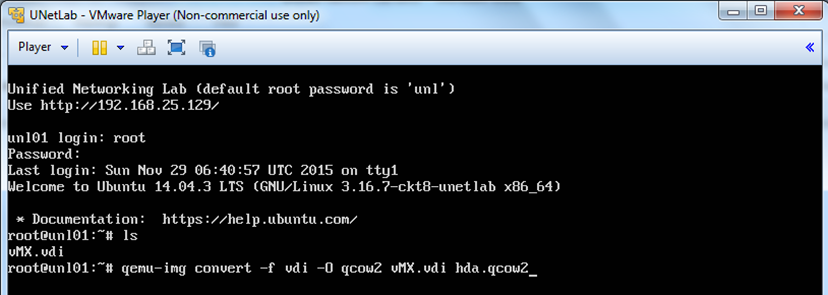
qemu-img convert -f vdi -O qcow2 vMX.vdi hda.qcow2

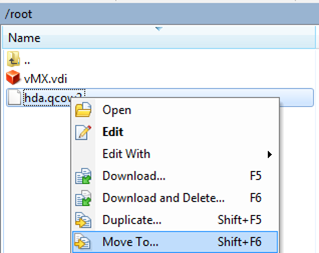
/opt/unetlab/wrappers/unl_wrapper -a fixpermissions

6. Create a LAB


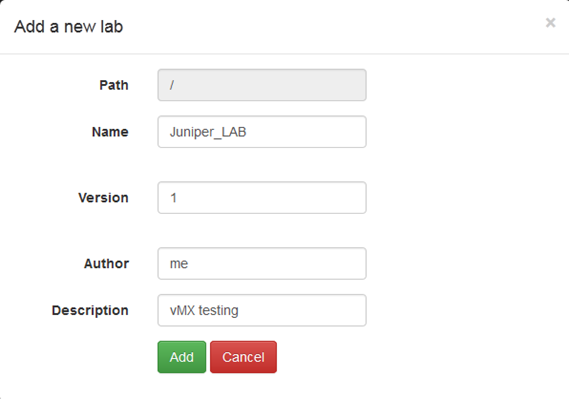
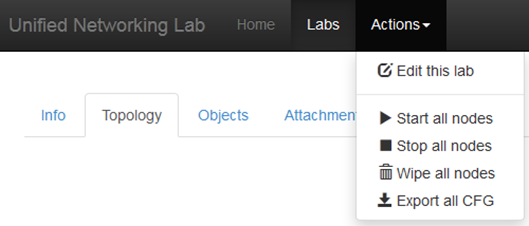
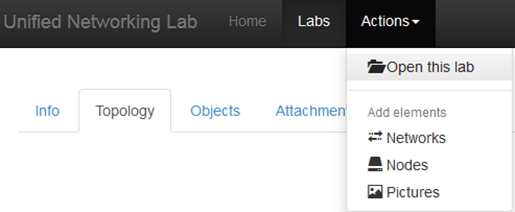
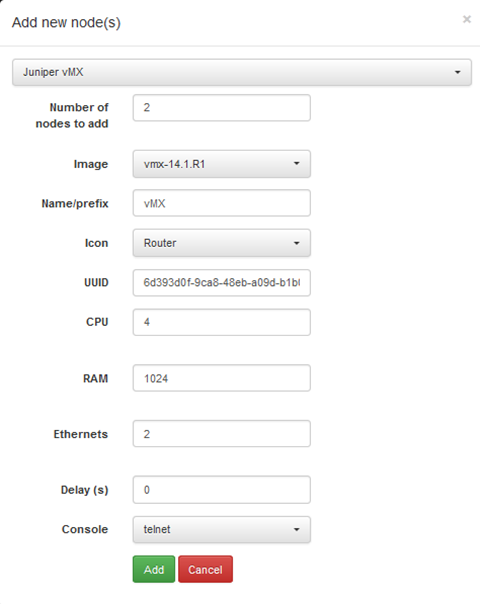
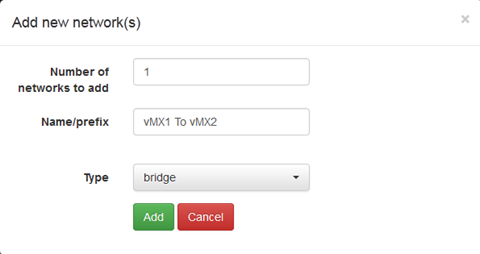
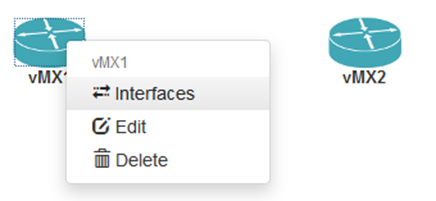

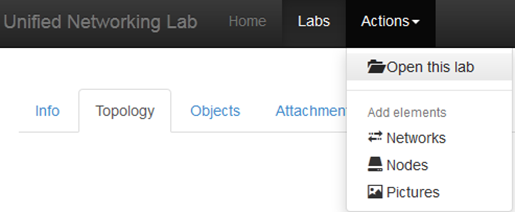
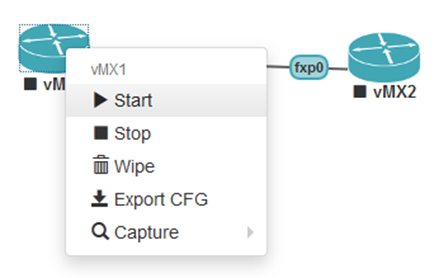
7. Initial startup of vMX
Amnesiac (ttyd0)

login: root
root@% cli
root> configure
Entering configuration mode

[edit]
root# set system root-authentication plain-text-password
New password:
Retype new password:
[edit]
root# commit
commit complete
8. Notes
- Make sure you install QEMU package, which is not included by default.
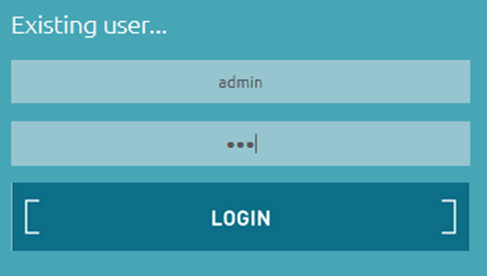
- My browser ‘freeze’ on the step 6.1. Once I type the IP address into the web-browser it says ‘Pleas wait’. Go ahead and enable cookie for the IP 192.168.25.129 (from the step 5.1) on your web-browser.
- shutdown -h now.To shut-down the virtual machine type

Great article! This is the type of information that are meant to be shared across the internet. Shame on the seek engines for now not positioning this publish upper! Come on over and talk over with my site .
Thank you =) generic viagra