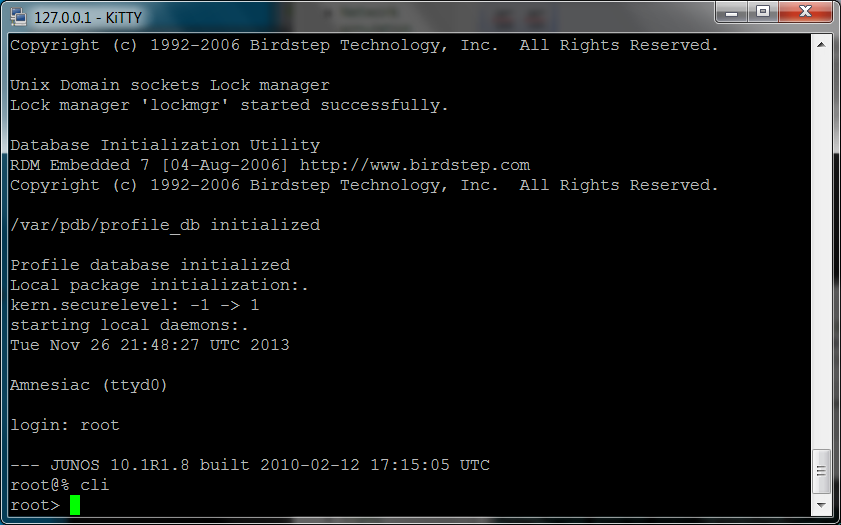
This article explain how to make and install JunOS router using junos olive package (.tgz) installed inside of a Qemu virtual machine with FreeBSD running inside, all under Win 7 64bit OS environments. Junos olive package is an original domestic Junos package modified running inside of Olive environment (inside of PC, not router HW).
The reason for making this tutorial is the usability of Qemu for running JunOS routers inside of the GNS3 network simulator.
Environment and Prerequisities
Here is the description of my working environment and software prerequisities
- Win 7 64 bit operating system.
- Installed Qemu, 0.11 Win 32 in my case. Download here. Qemu release 13.0 has a SEAbios bug, which lead to problem boot Junos routers. Compilation of a new SEAbios is required. I observed mentioned problem for qemu 0.13 win 32 downloaded from GNS3 site.
- Created Qemu virtual machine with installed and running FreeBSD OS inside of it. The installation of FreeBSD using Qemu is described here (Installing FreeBSD for JunOS Olive using Qemu under Win 7 64bit).
- Some JunOS image. Download somewhere on the net. It have to be Olive based, i.e. preprepared for running inside of PC (Olive in the sence is the codename given to JUNOS software running on an PC rather than a Juniper router).
- Some free sFTP/SSH server for windows, for example FreeSSHd server, Download here. The application is required for downloading junos tgz file from windows into qemu machine (many tutorials are using Linux as the base system, where there is no problem to run telnet/ssh/ftp/sftp server).
Making a copy of a clear Qemu image with fresh freeBSD installation
At the beginning we make a copy of our running and clean qemu image with installed FreeBSD inside of it (tutorial here). Therefore go to the folder where your qemu is installed and where the clear source image is also located. Then simply make a copy (and paste) of original qemu image, next rename it, here for example Junos-Router.img:
Note:
it should also work using following way, but finally during the junos installation process i was getting an error about fail to load kernel.
qemu-img create -b olive-base-clear.img -f qcow2 Junos-Router.img
Package installation
Boot new machine with networking card enabled. Assign a little bit more RAM memory to speed up installation process:
qemu -m 512 -hda Junos-Router.img -boot c -localtime \
-net nic,macaddr=00:aa:00:60:01:01,model=e1000 -net user
or 1G is better
qemu -m 1G -hda Junos-Router.img -boot c -localtime \
-net nic,macaddr=00:aa:00:60:01:01,model=e1000 -net user
The window with qemu will open and after booting process, log in using your root account and password (toor in ma case), which you have been setup during freeBsd installation.
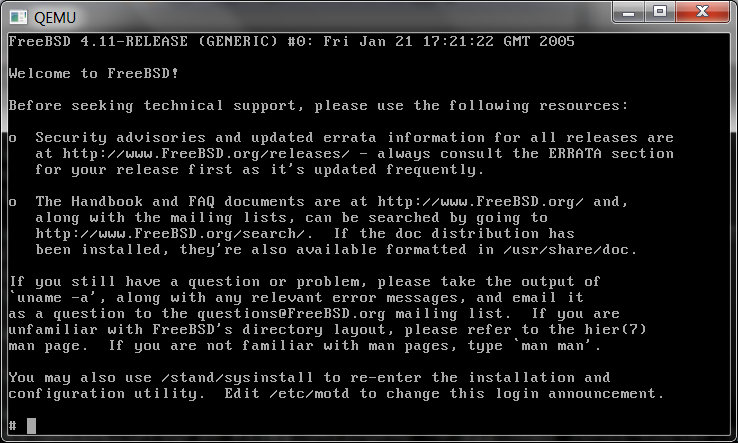
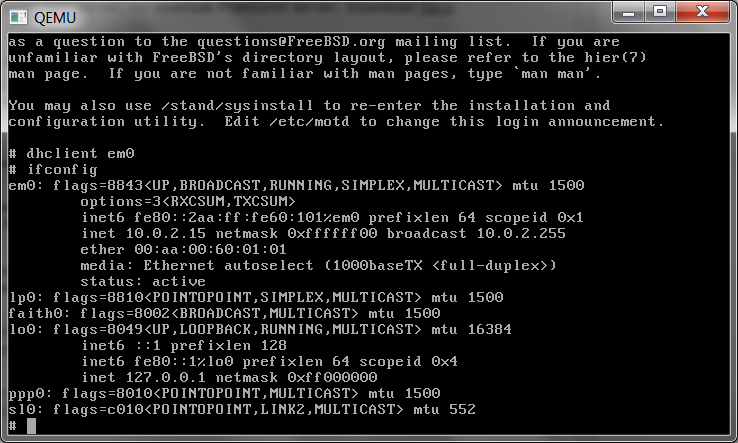
Then enable dhclient to obtain an IP address and check it:
dhclient em0
ifconfig
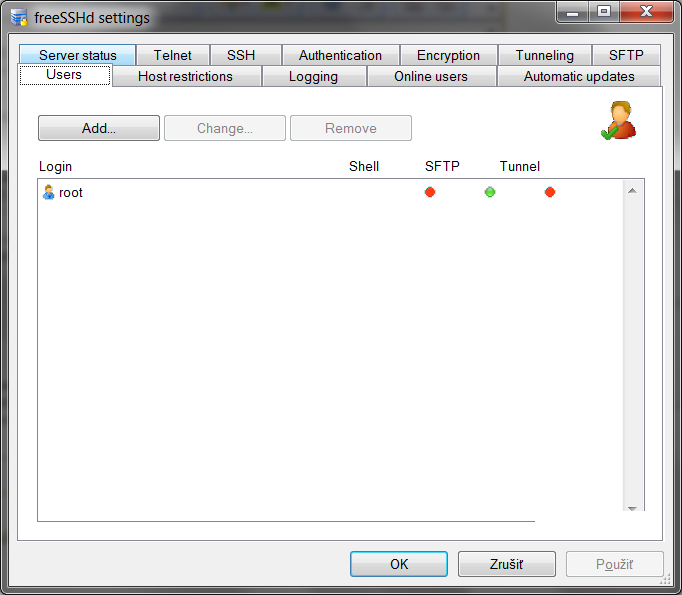
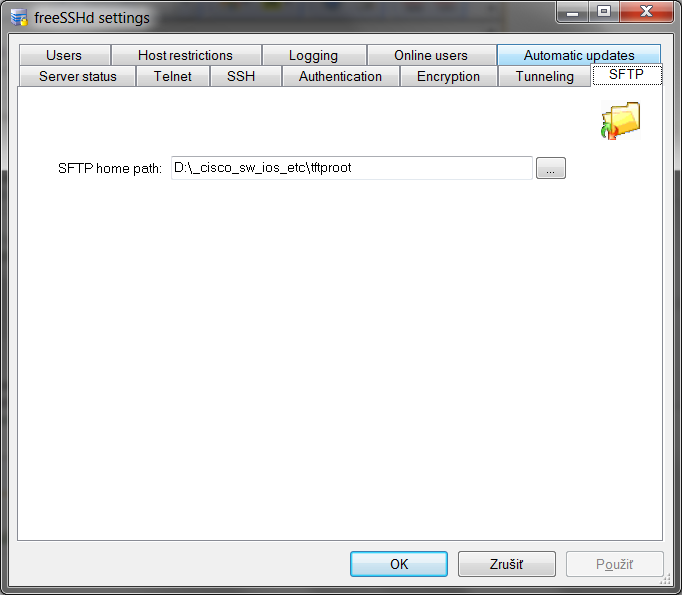
Now inside of your Windows start your freeSSHd software, which is required to download junos olive package into freebsd qemu machine. Inside of freeSSHd software you have to at least create one account required for sucesfull login (root/toor in my case), and point out sftp path to the folder, where you have placed junos olive tgz package file.
Checking if the service is running
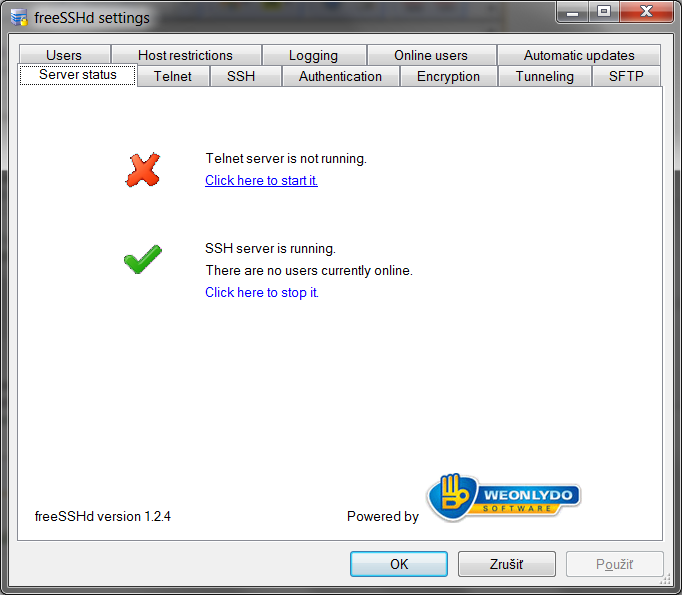
creating an account
setting up SFTP root folder
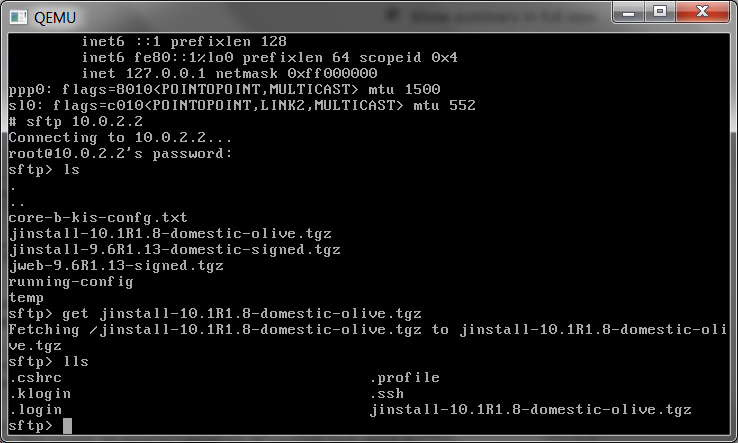
Then we should be able connect from qemu to our SFTP windows service and download required junos olive package. So type:
sftp 10.0.2.2
login using freeSSHd account, and then download required file (jinstall-10.1R1.8-domestic-olive.tgz in my case).
get JINSTALL_PACKAGE_NAME
Now we will install the package
pkg_add -f jinstall-10.1R1.8-domestic-olive.tgz
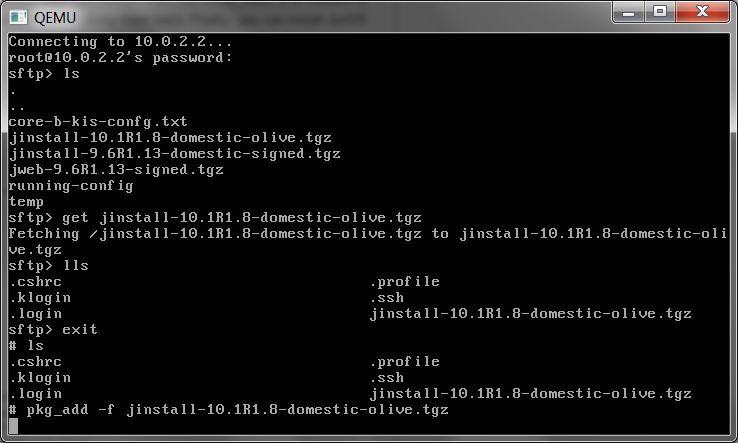
The package installation takes a few minutes, and after sucess, we have to reboot the qemu machine with “halt” BSD command. After our machine was shut down, close the qemu window (or pres Ctrl Alt 2).
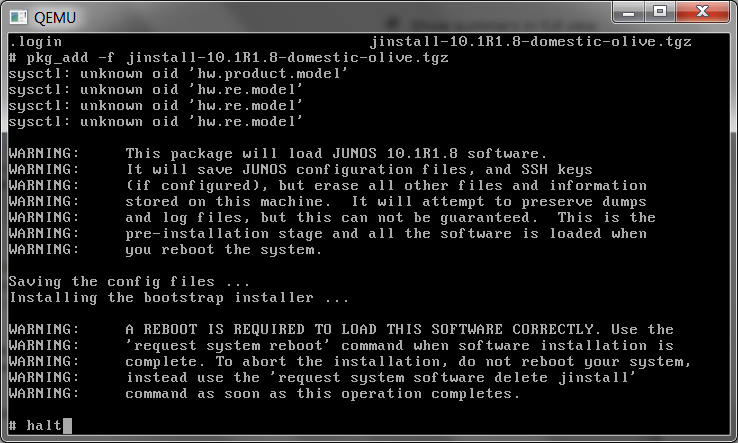
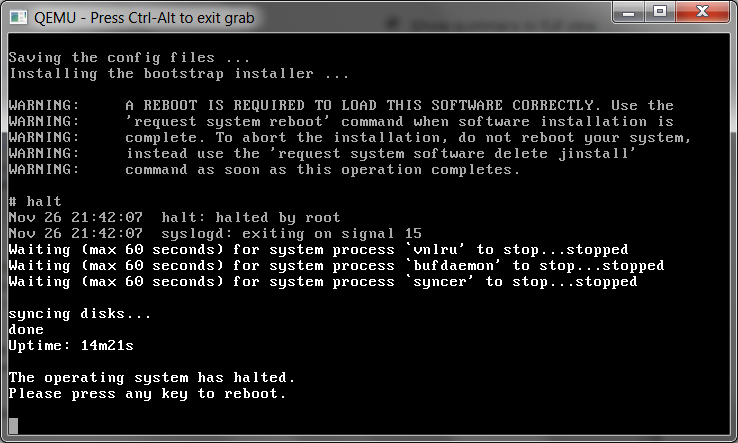
Now we have to complete main junos installation process, which require booting the Junos-Router image. Be able to start and observe the installation process we redirect output to the telnet server, port 3001, and also we initiate the image booting just after telnet login:
qemu.exe -m 1G-hda Junos-Router.img -serial \
telnet:0.0.0.0:3001,server
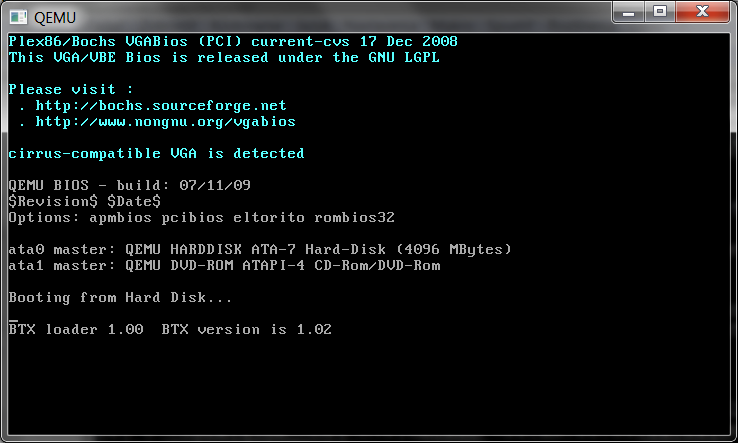
and as the next step (required to start installation) we have to use putty\kitty\telnet to make a telnet session on localhost, port 3001
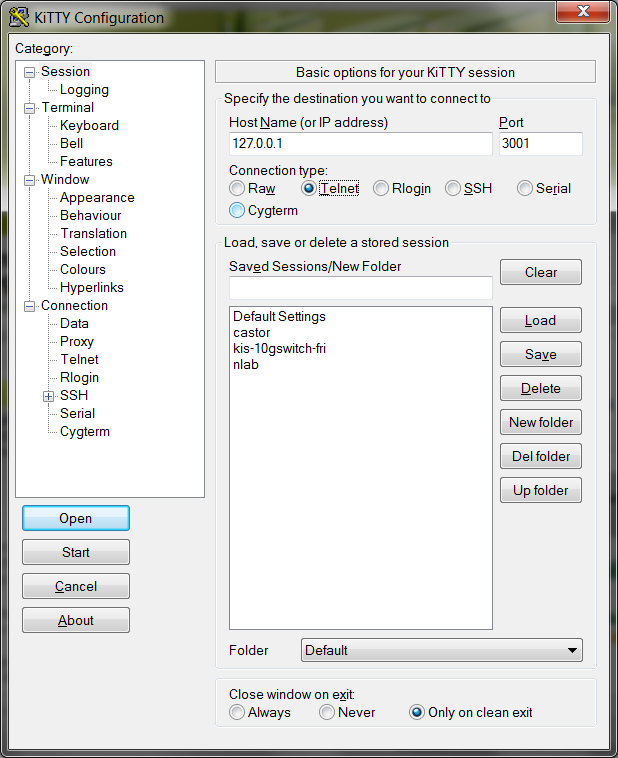
just after login, the qemu machine will boot and the installation process will continue
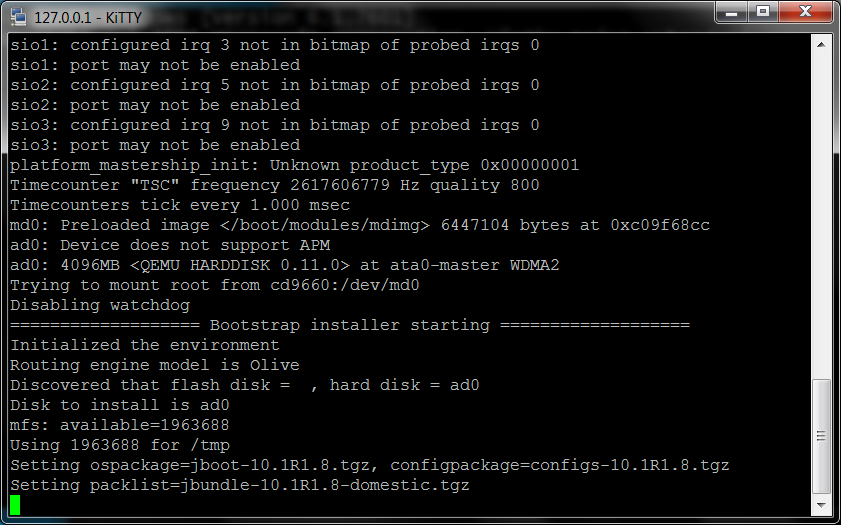
Using telnet we are able observe the output from boot and install process. During the junos installation process qemu machine will reboot few times and we have to patiently (looks there is no activity, but be patient, we may observe that image size is growing) wait for the end (from couple of minutes to tens of minutes).
Finally, we will get the login prompt (hura)
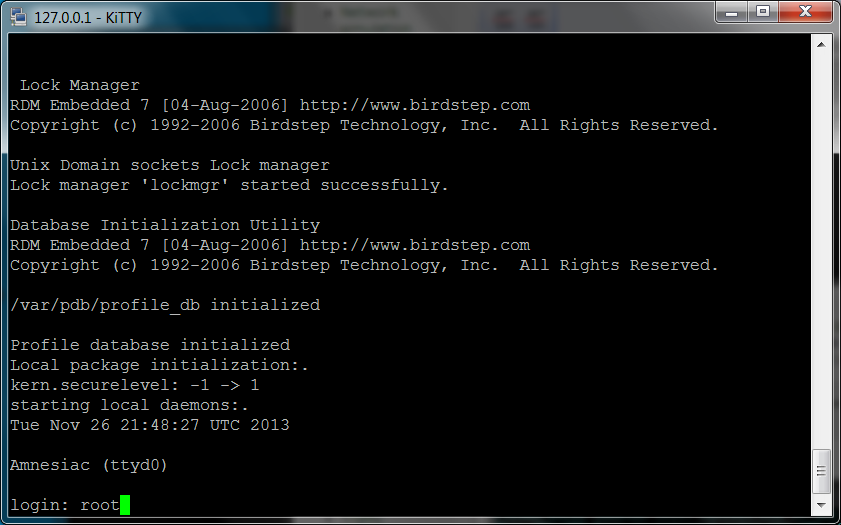
and after login as root we should run
cli
which provide us with Junos prompt
