The article just continue within the set of articles (Cisco, Juniper) how to prepare emulated software routers usable for usage within GNS3 simulator and supports the way of learning by doing. Smilarly like it with Juniper for example there are several ways how to emulate MikroTIK routers using GNS3 and make them usable for buidling advanced networking topologies. Be able to make and run MikroTIK inside of GNS3 we have several ways available:
- using qemu
- using virtualbox
- using vmware
browsing the web and supporting open and memory frendly solutions I prefer using Qemu, as it is provide small memory foot print (http://mum.mikrotik.com/presentations/ID13/rofiq.pdf) and therefore aloows to run bigger topologies.
Using qemu to run MikroTIK router inside of GNS3
Prerequisities and environments
- All is running inside of my Win 7 64 bit OS.
- Installed GNS3. I prefer to install version for win 64 bit. Download here. I’m using version 1.1.
- Installed Qemu, I’m using version which is packed together with gns3 1.1.
Steps
There are only few steps and the process is straightforward
- Download mikrotik Router OS image for x86 from here.
- Ccreate qemu virtual disk
- Intall mikroTIK
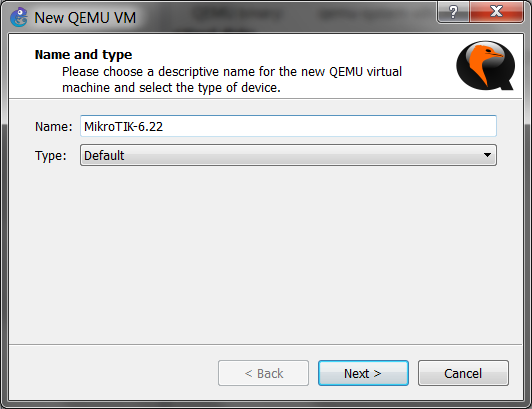
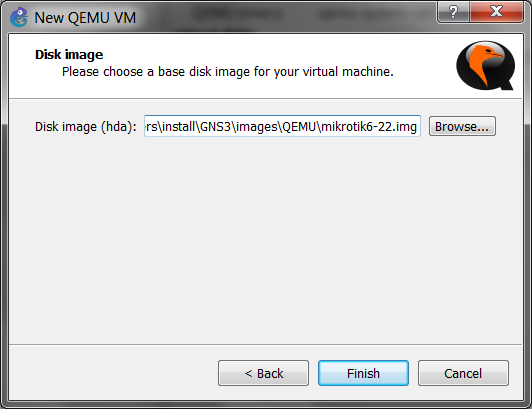
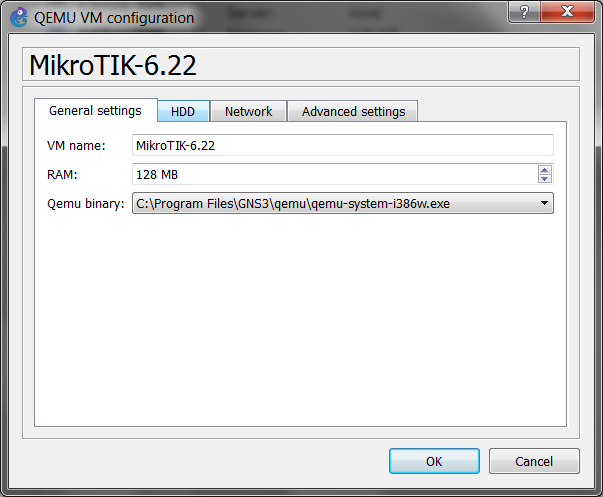
- Import Qemu machine into GNS3
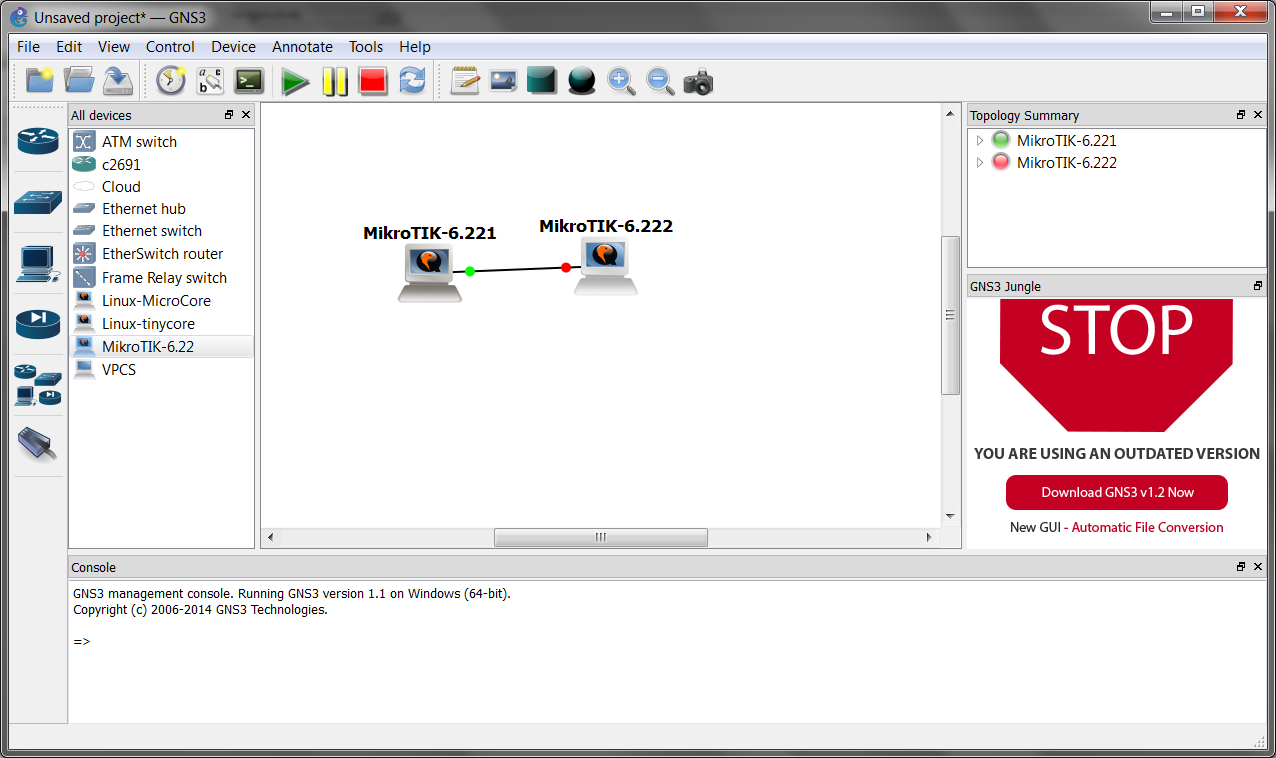
- Run an example topology inside of GNS3 with qemu machines
Step 1)
So, as the first step download Mikrotik RouterOS iso file for x86 architecture (i’m using mikrotik-6.22.iso) and move the iso file to the folder where is your qemu installed. In my case
c:\Program Files\GNS3\qemu>
Step 2)
Now we will create a qemu virtual image file where we will install mikrotik OS. So run from the qemu install folder:
qemu-img create -f qcow2 mikrotik6-22.img 256M
where the command create an Qemu image disk named mikrotik6-22.img with the size of 256MB. The output look like
c:\Program Files\GNS3\qemu>qemu-img create -f qcow2 mikrotik6-22.img 256M
Formatting 'mikrotik6-22.img', fmt=qcow2 size=268435456 encryption=off cluster_size=65536 lazy_refcounts=off
Step 3)
and run
qemu-system-i386w.exe -m 256 -hda mikrotik6-22.img -cdrom mikrotik-6.22.iso -boot d -localtime
The command starts Qemu machine with previously created disk mikrotik6-22.img, with 256MB of RAM and attached CDROM with RouteOS ISO image.
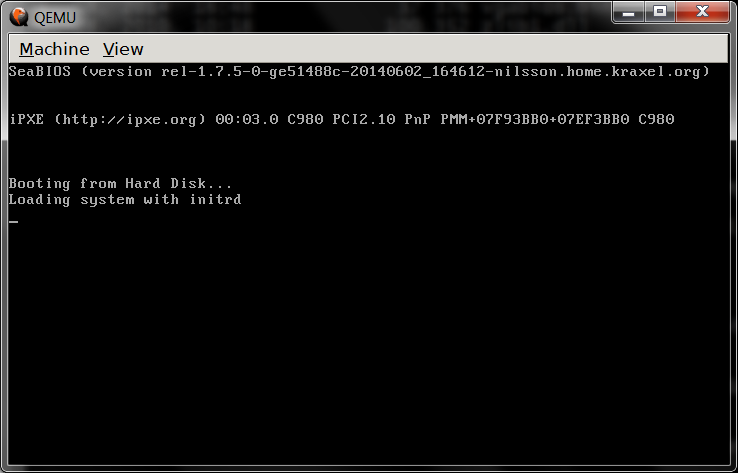
Qemu should start immediately inside of a new window (note, Ctrl + Alt willl release the coursor).
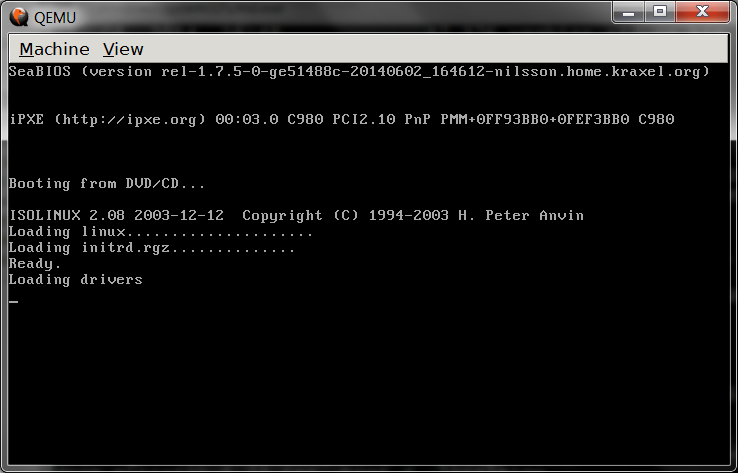
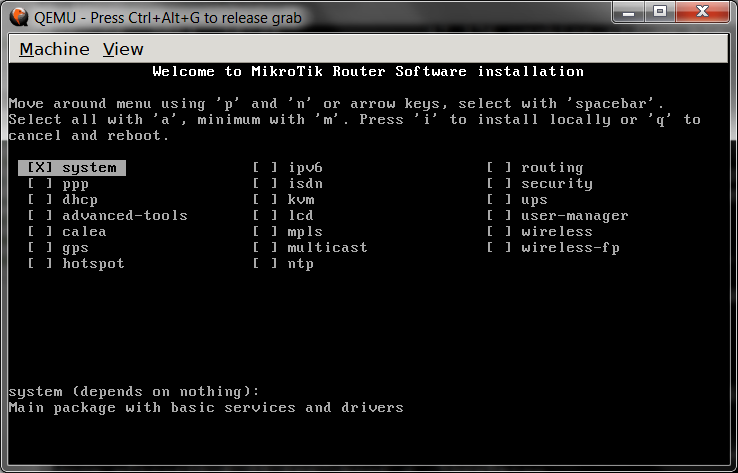
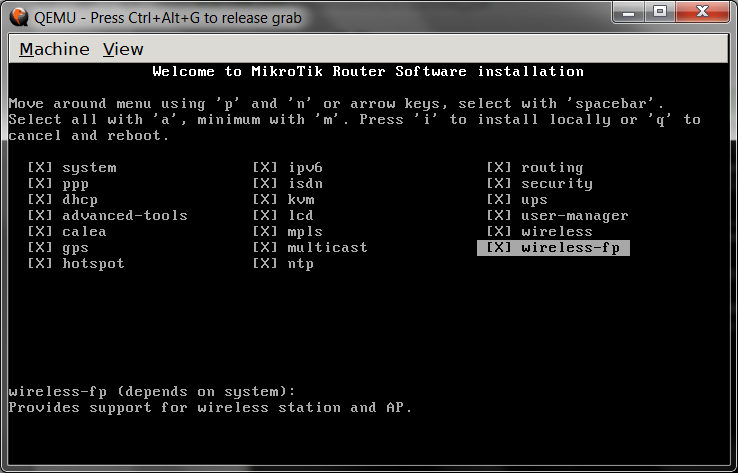
and after few second qemu will show the MikroTIK installatiion menu:
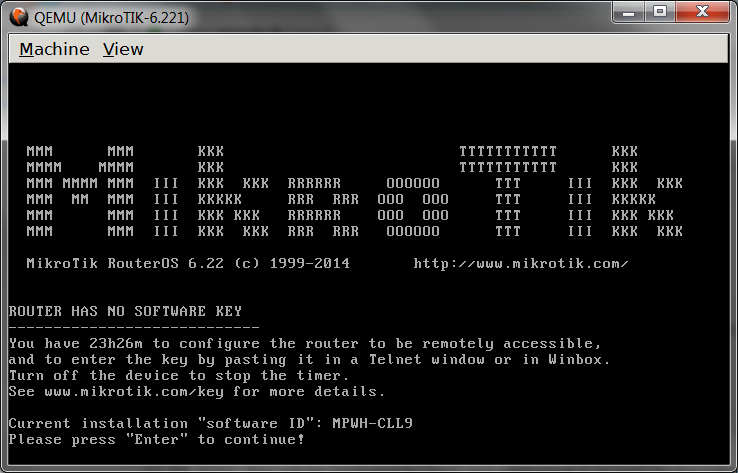
qemu-system-i386w.exe -hda mikrotik6-22.img -boot c
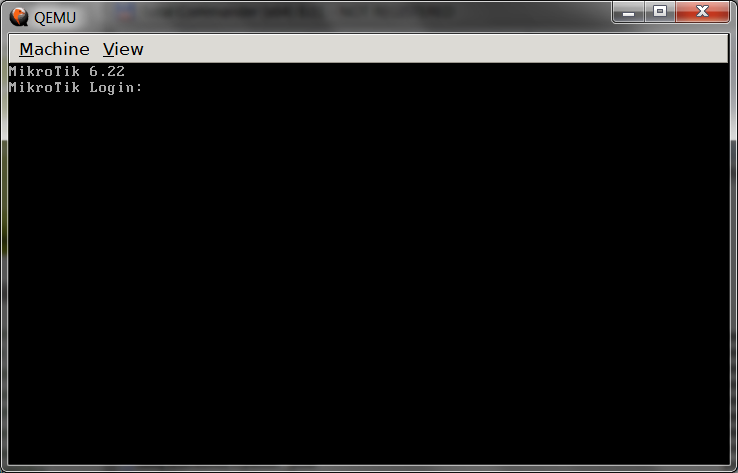
Step 4)
c:\Program Files\GNS3\qemu>
C:\Users\install\AppData\Local\VirtualStore\Program Files\GNS3\qemu
C:\Program Files\GNS3\images
Step 5)
Edit--> Preferences--> QEMU--> QEMU VMs